Quality
is our DNA
Quality assurance
on perfection

Precision is measurable
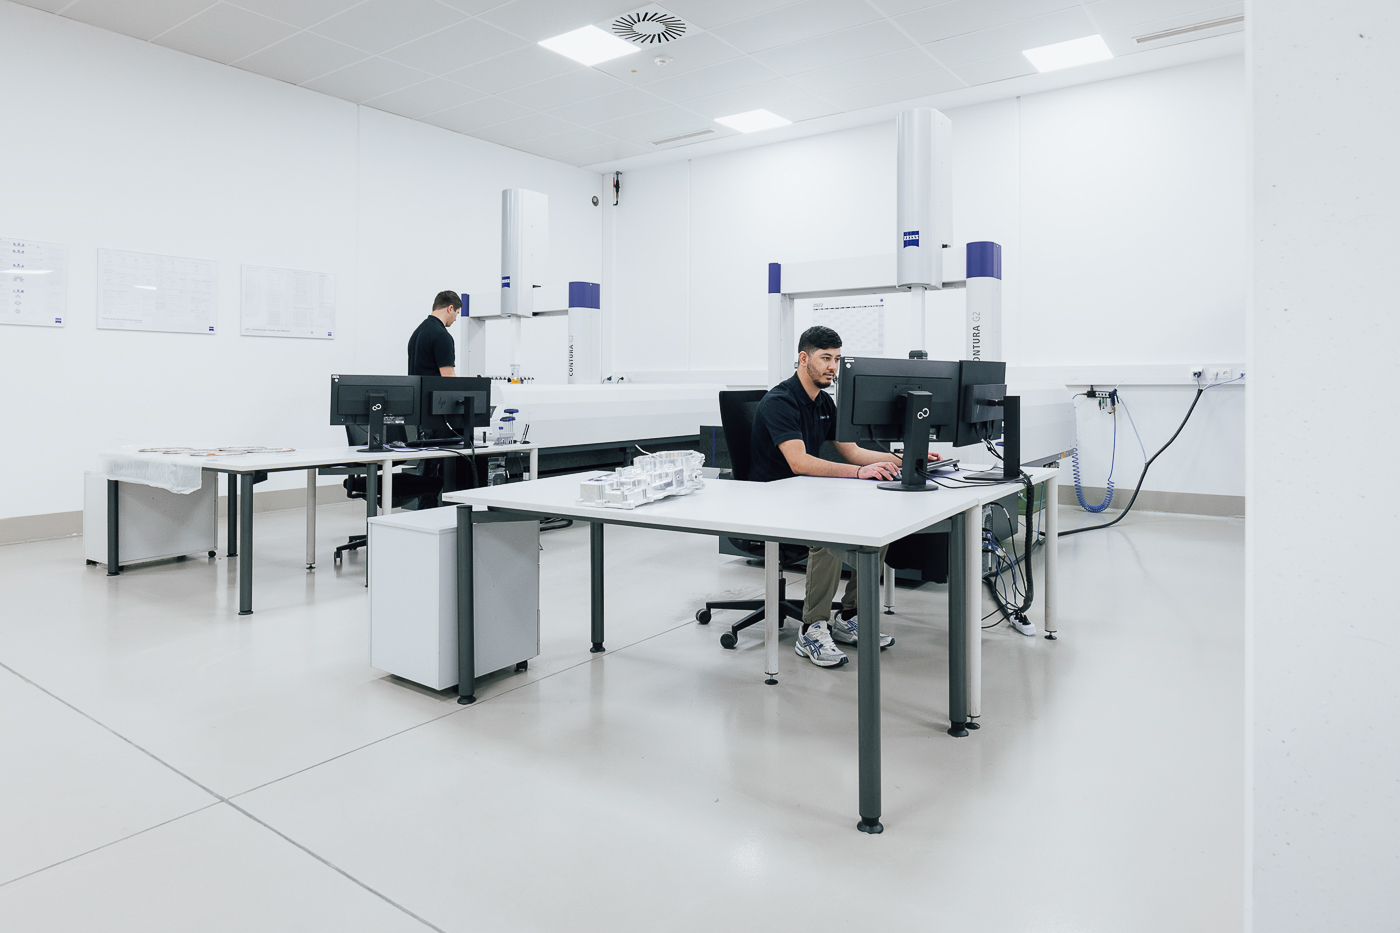
From the smallest µm to large format. In our certified measuring laboratory with a temperature accuracy of +/- 0.2°C, we use only the latest and highly accurate measuring and testing equipment.
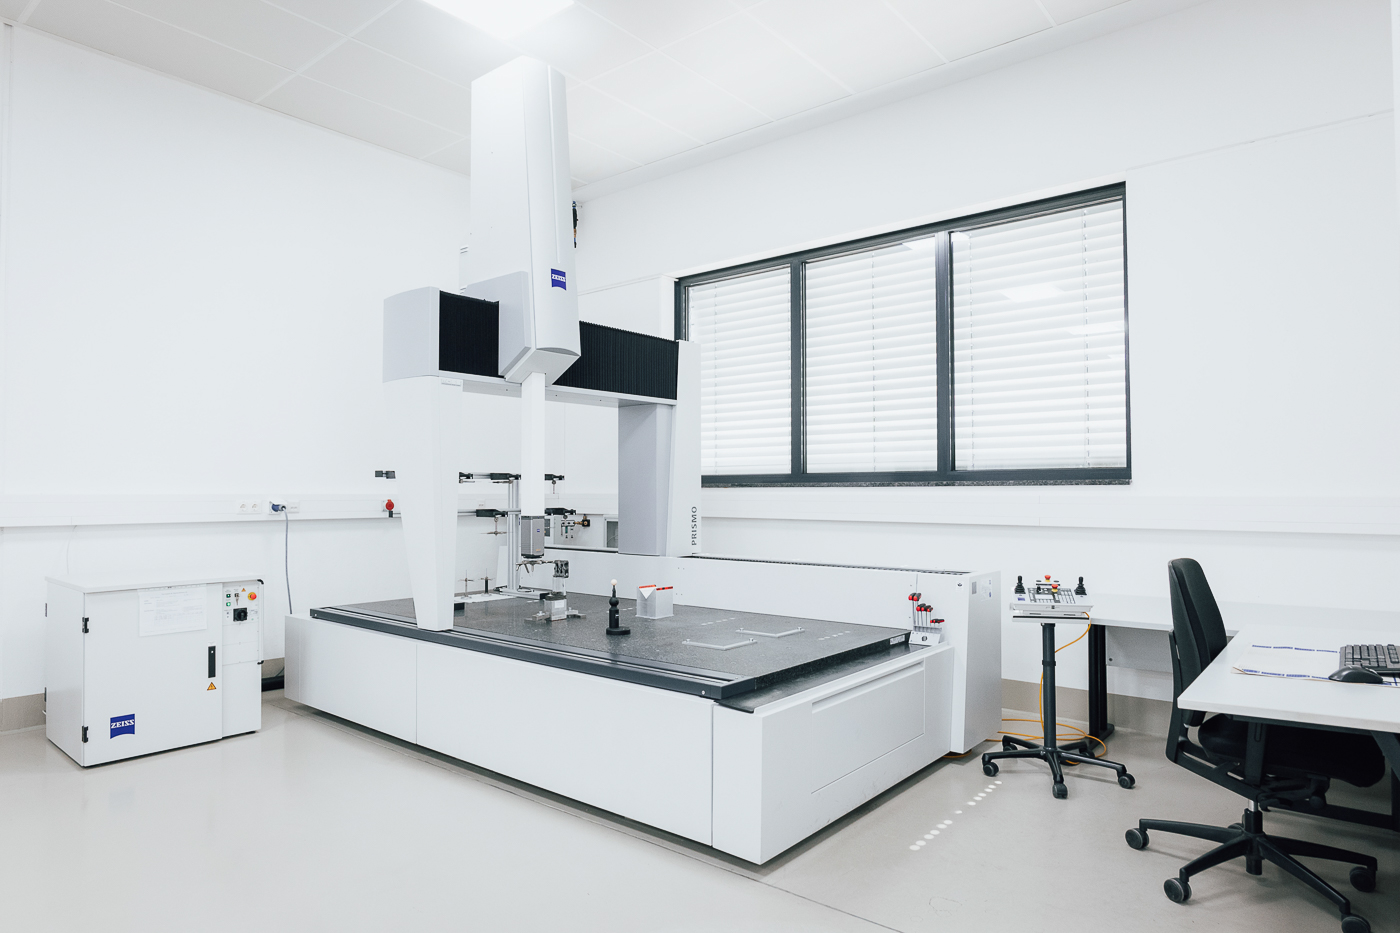
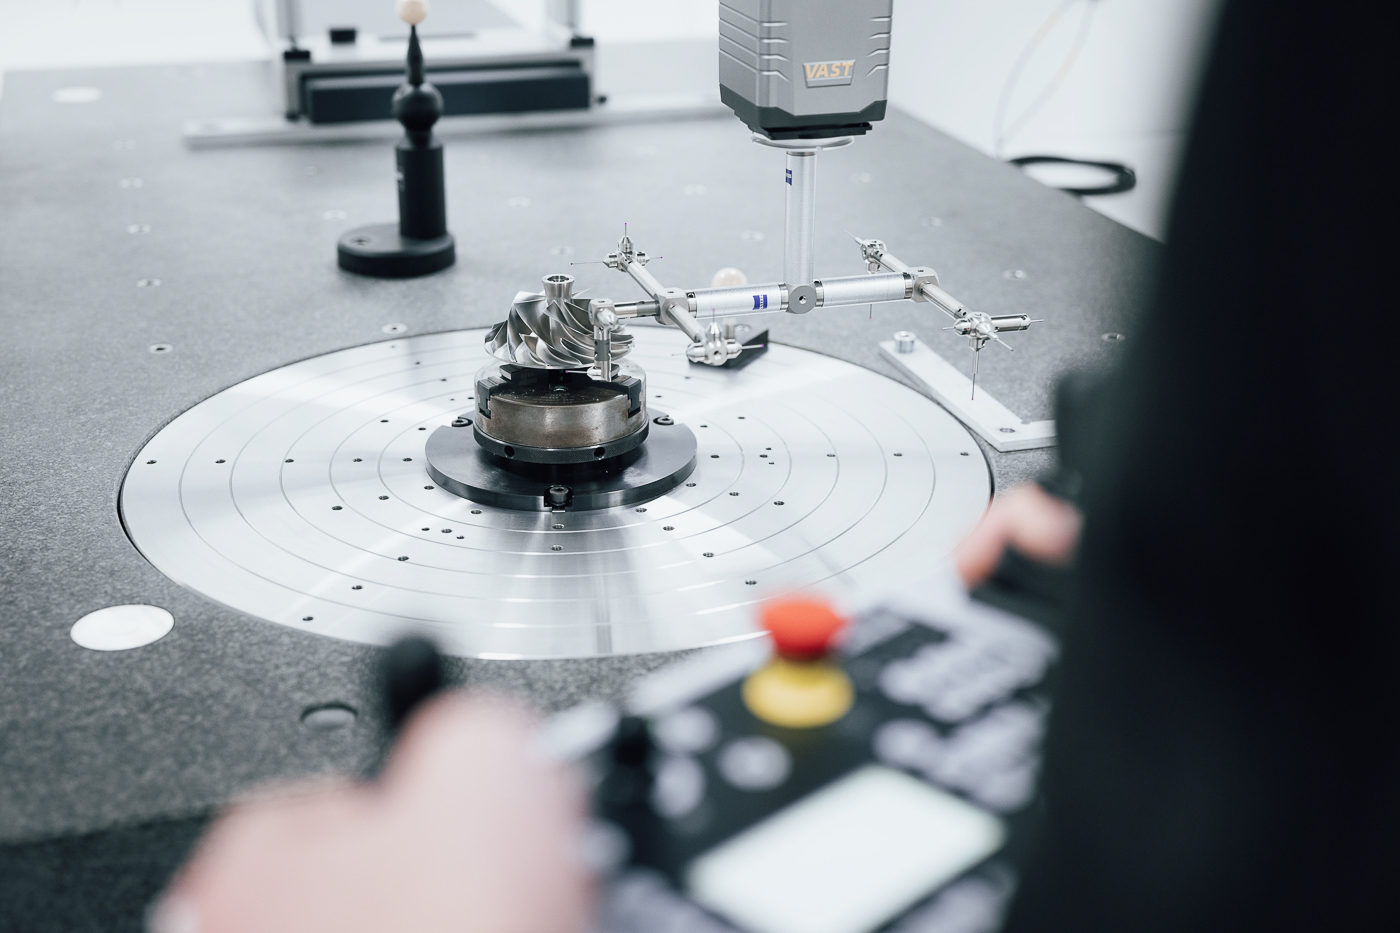
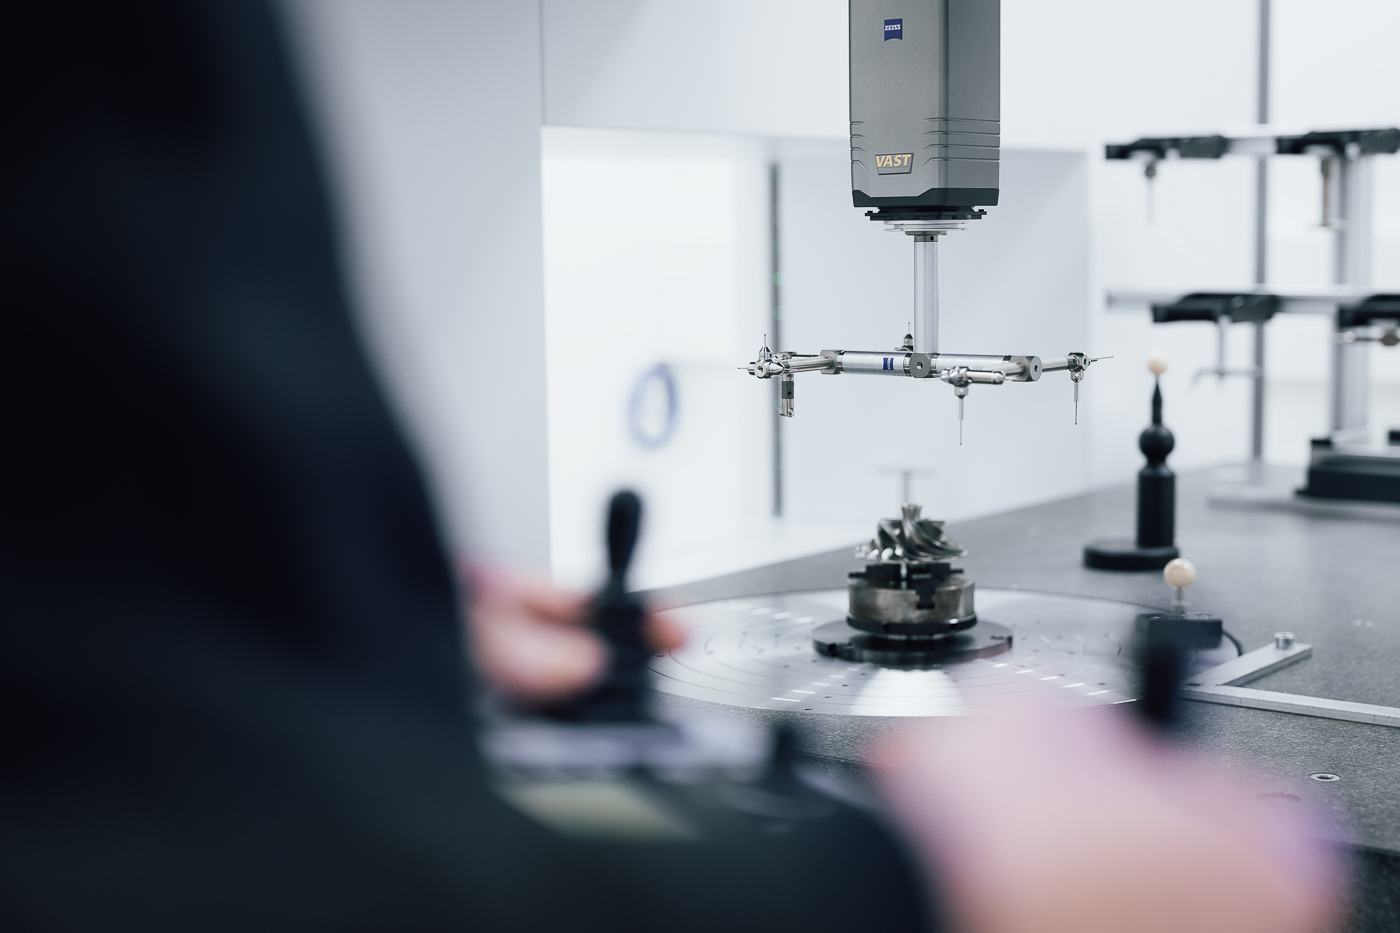
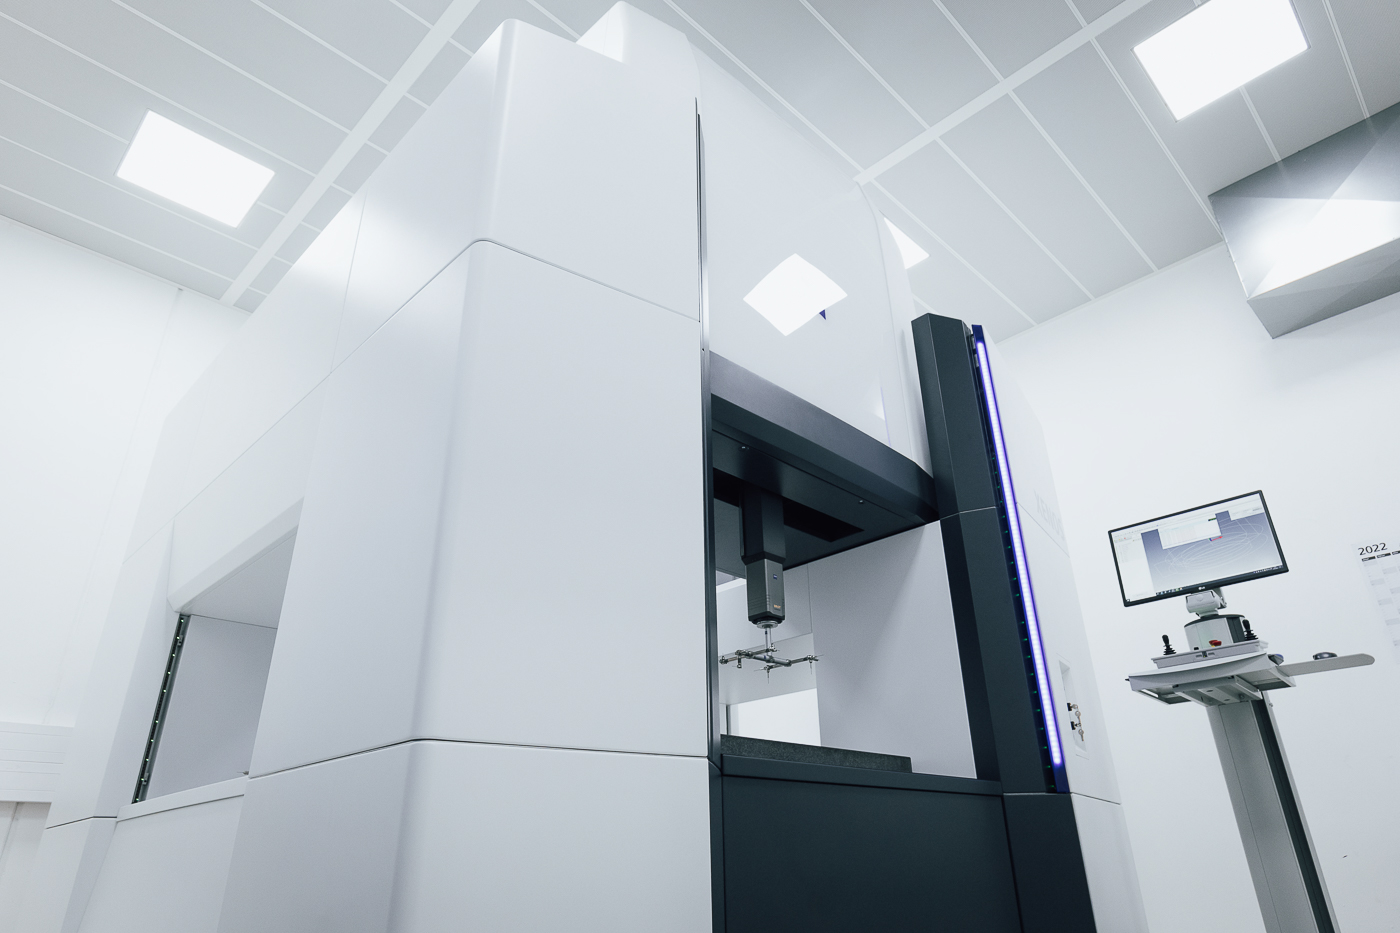
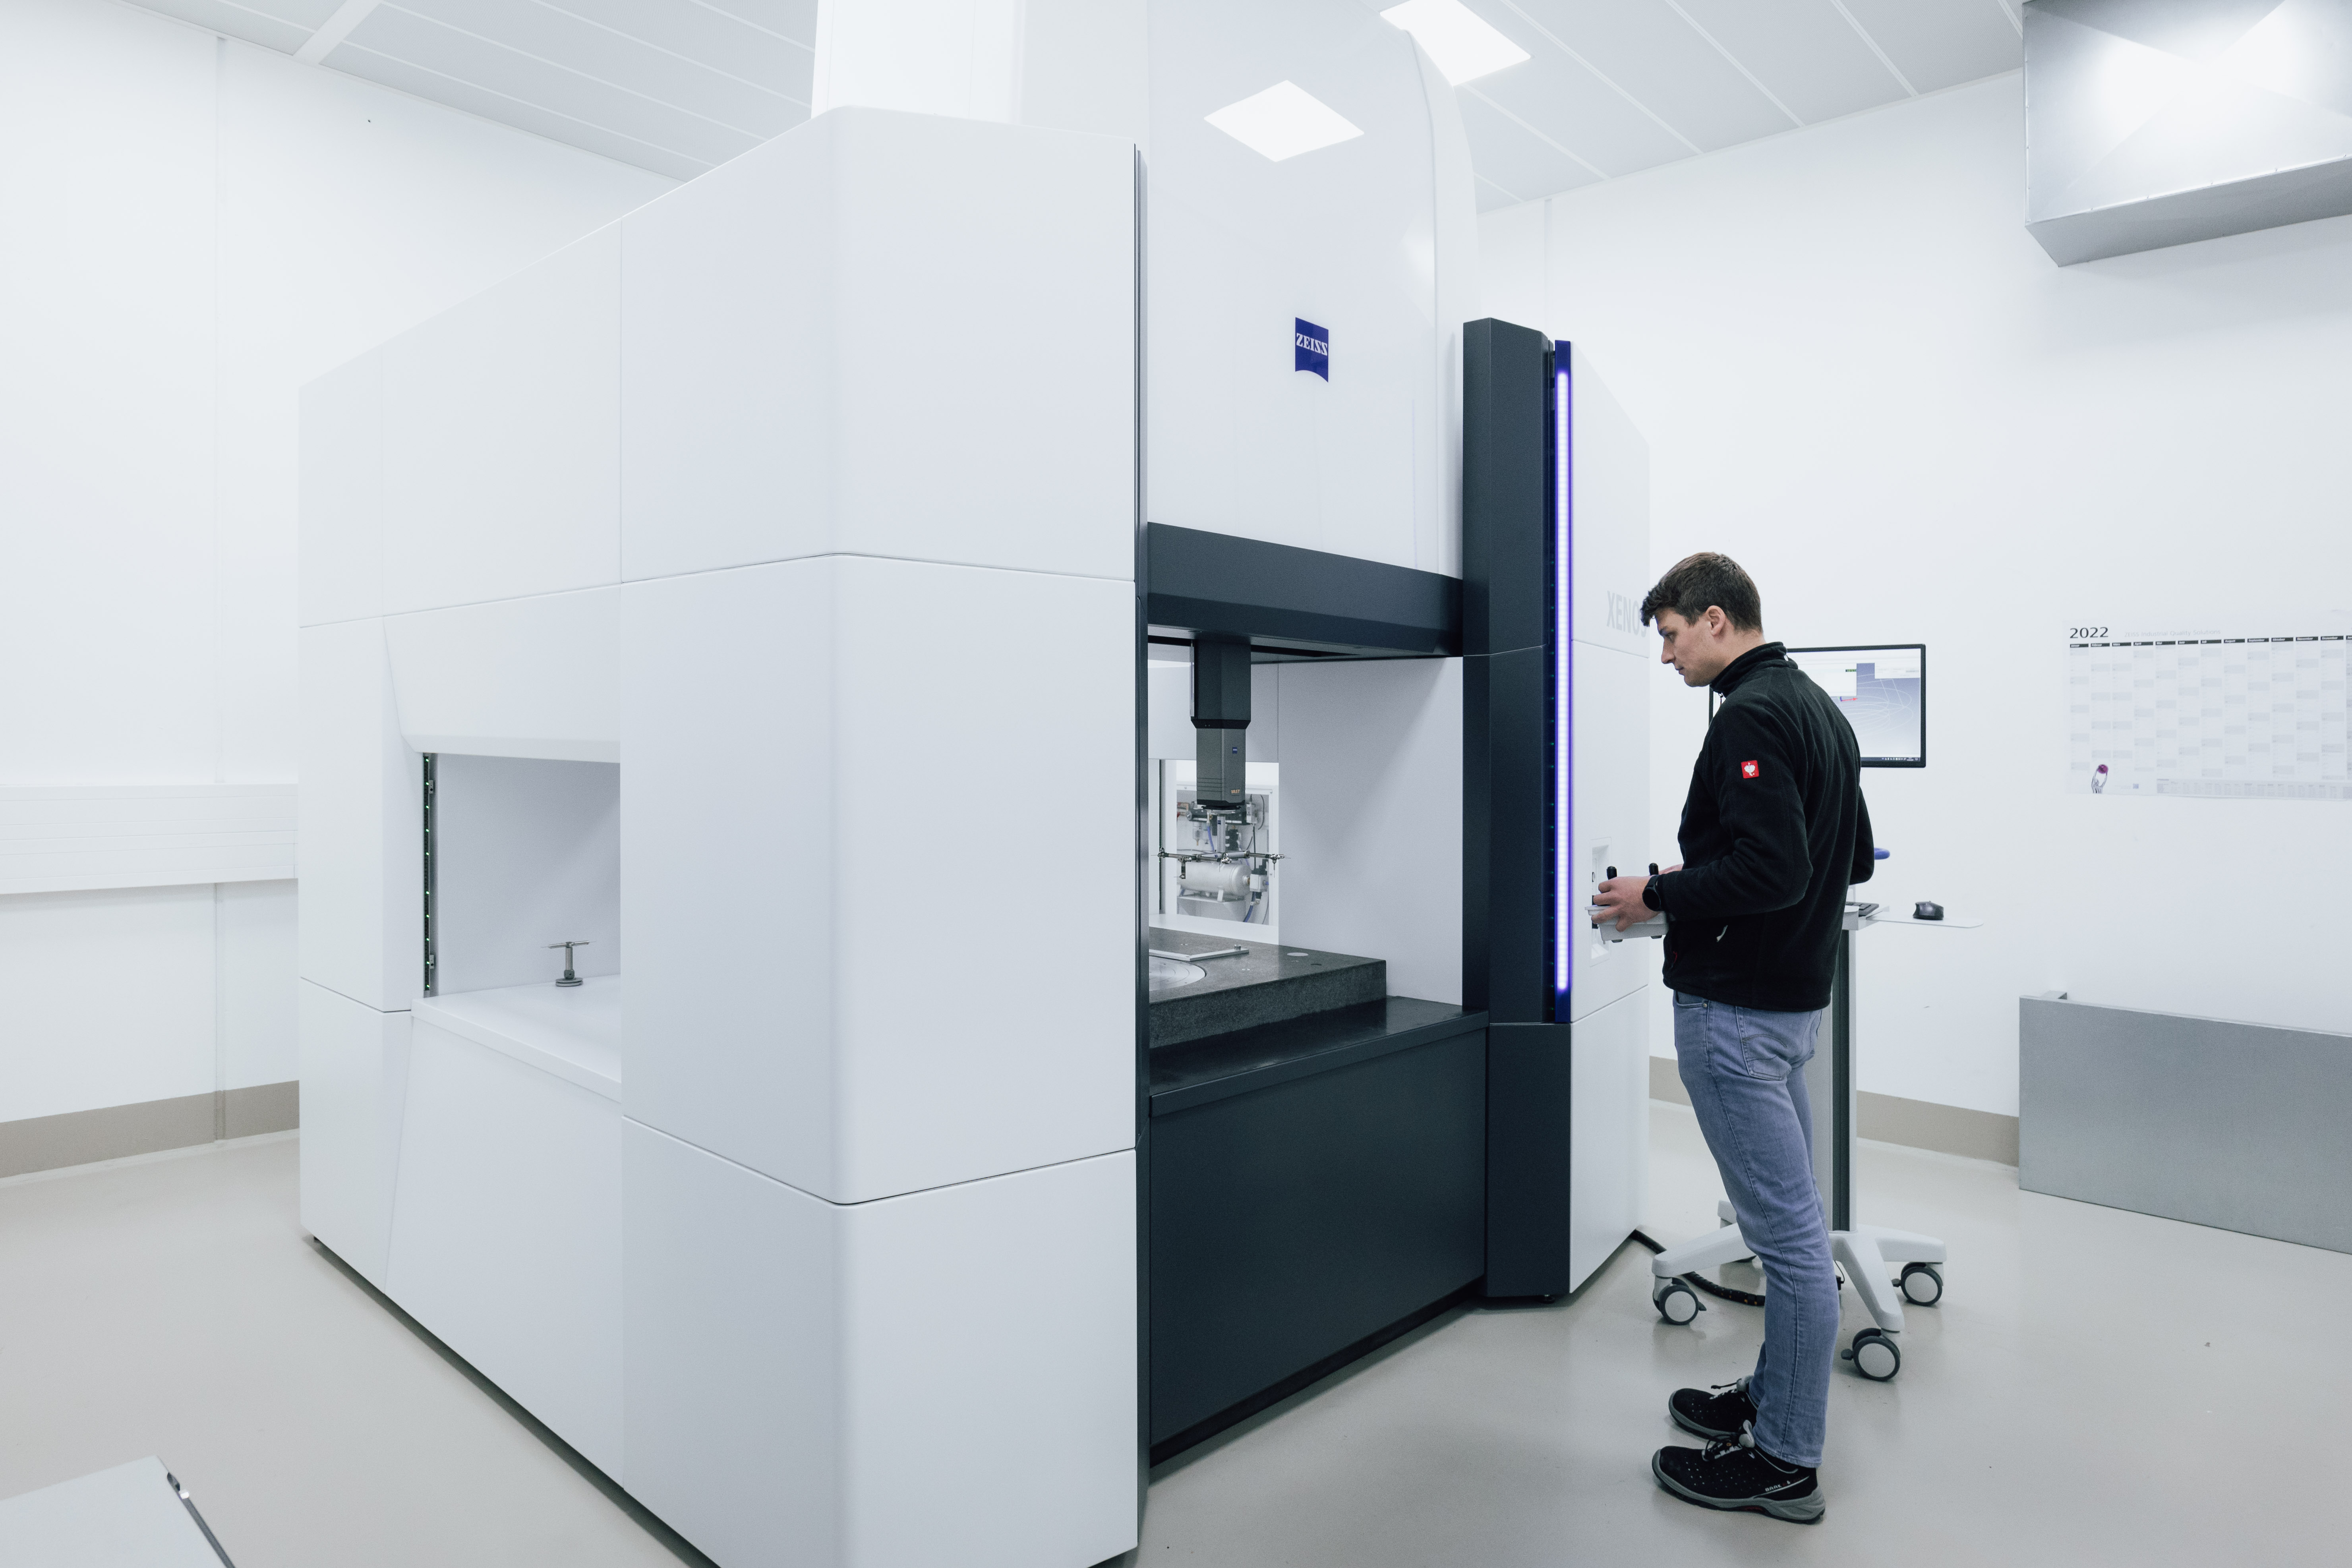
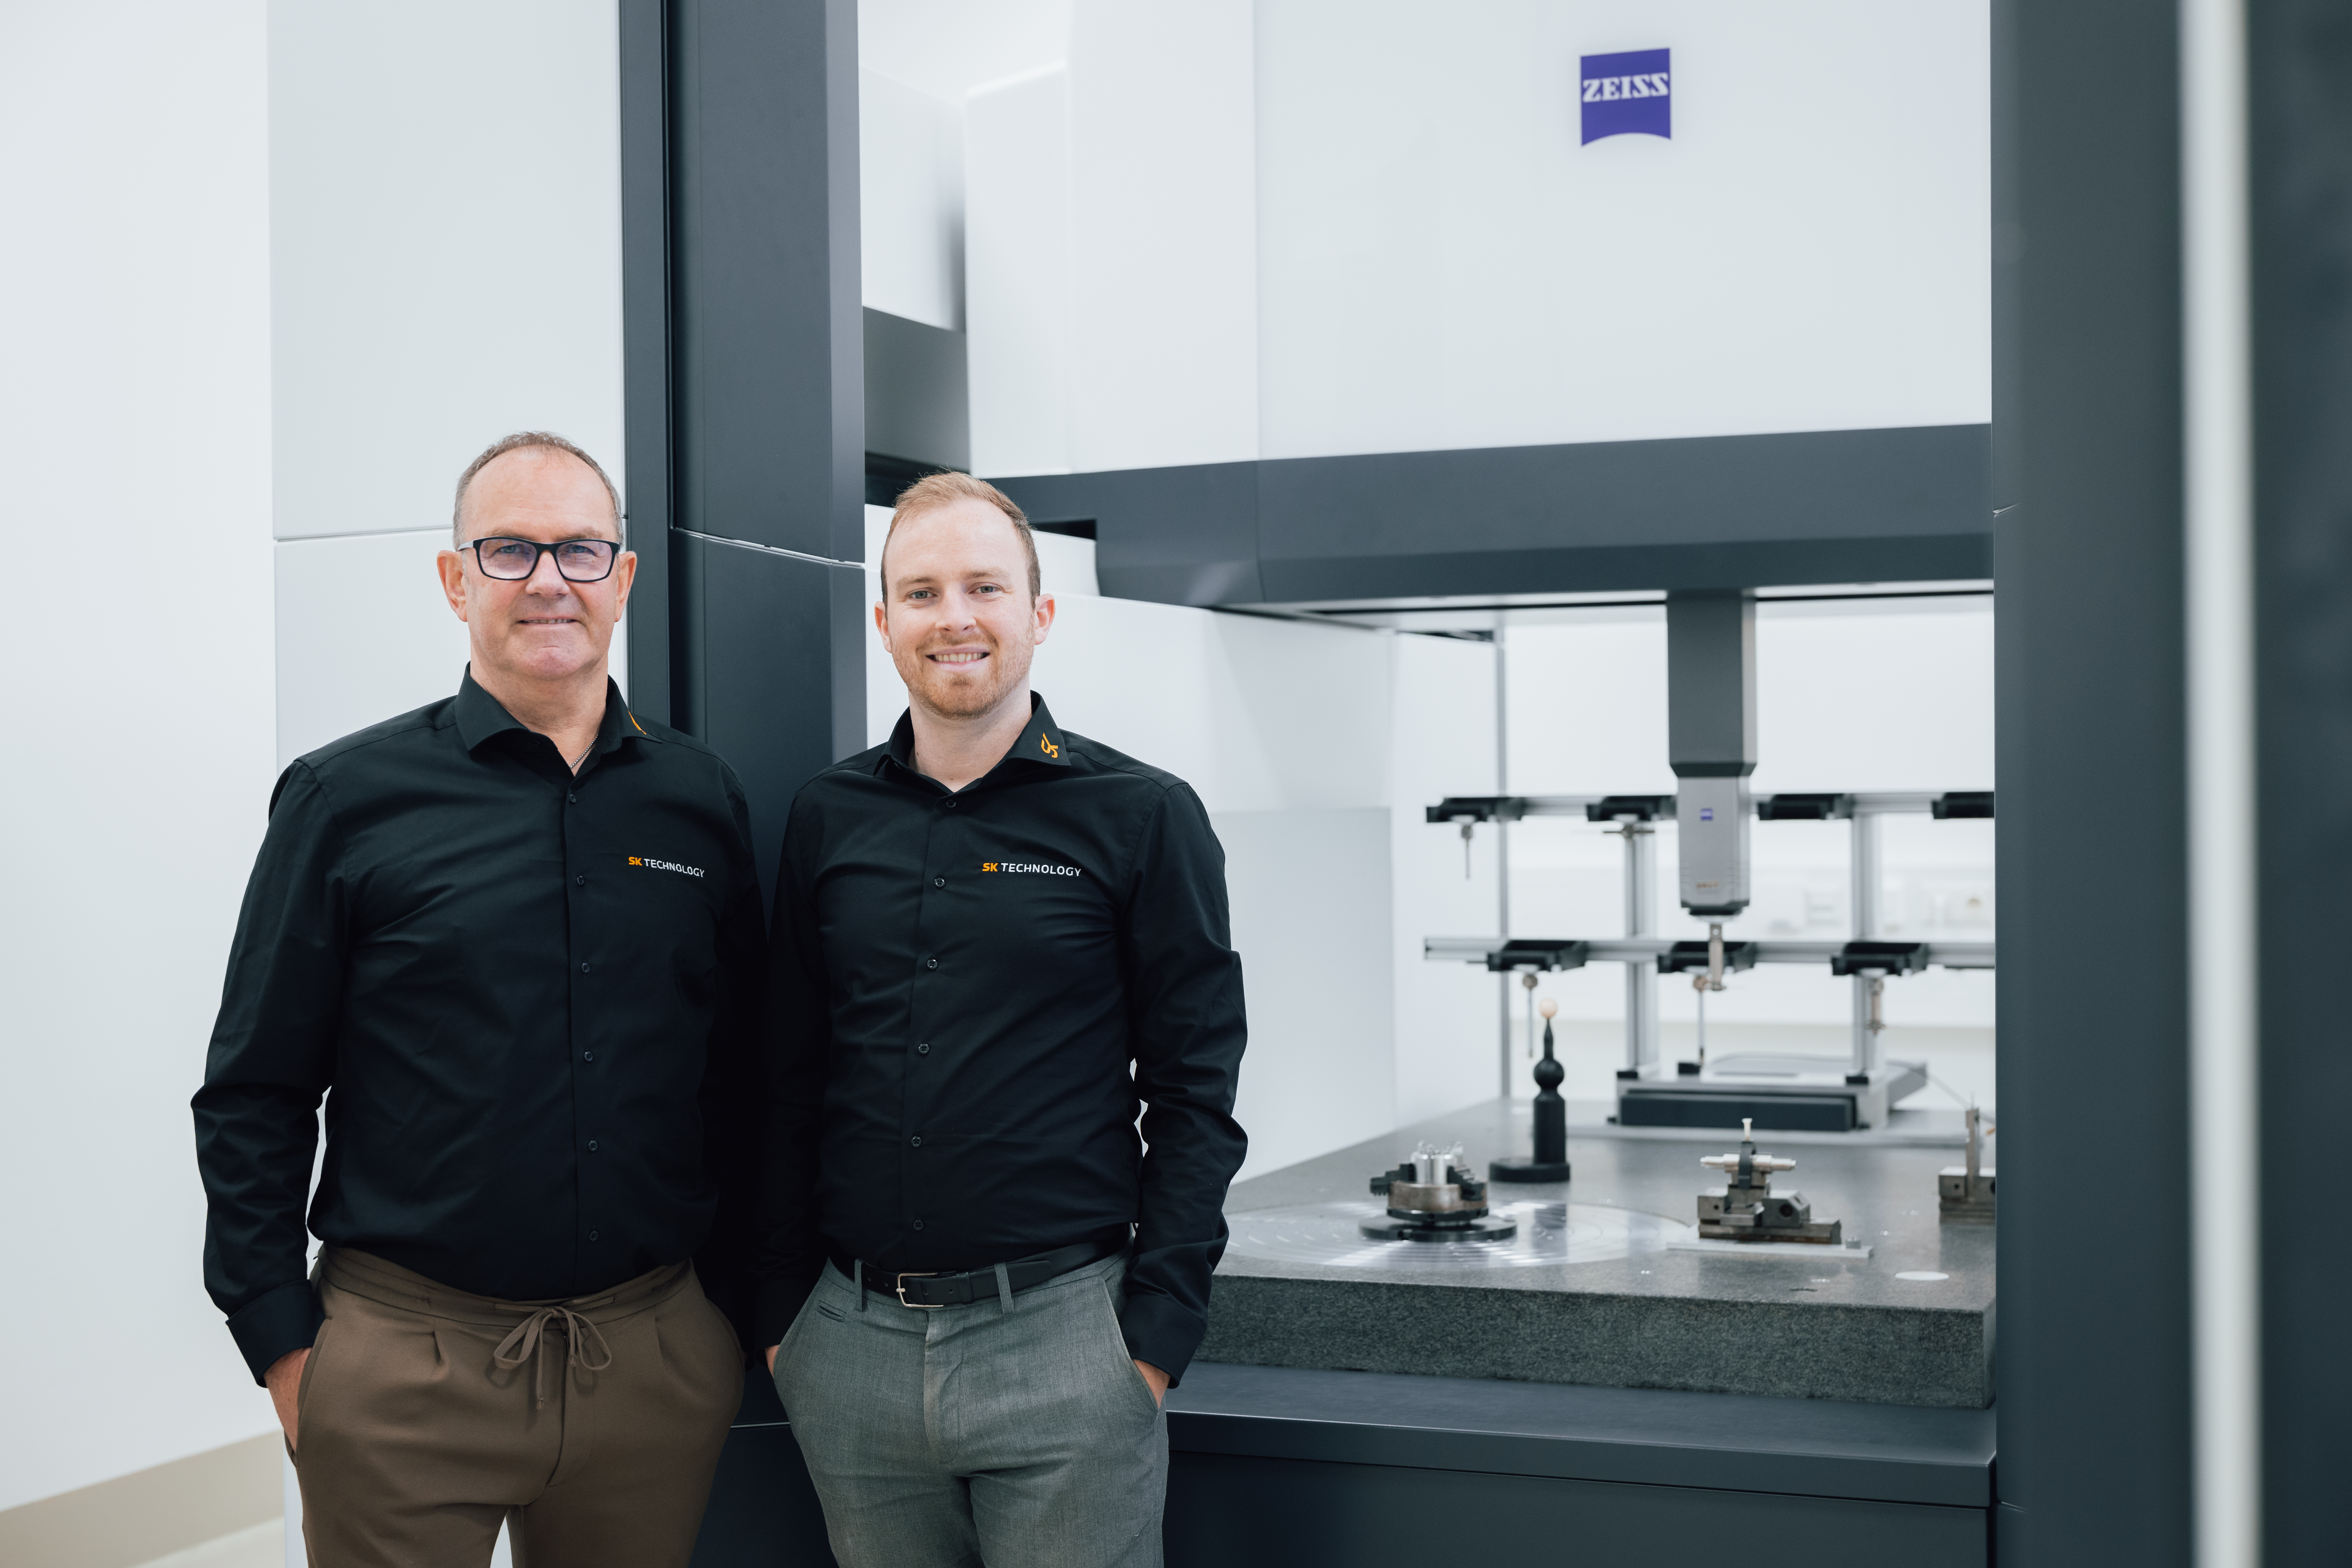
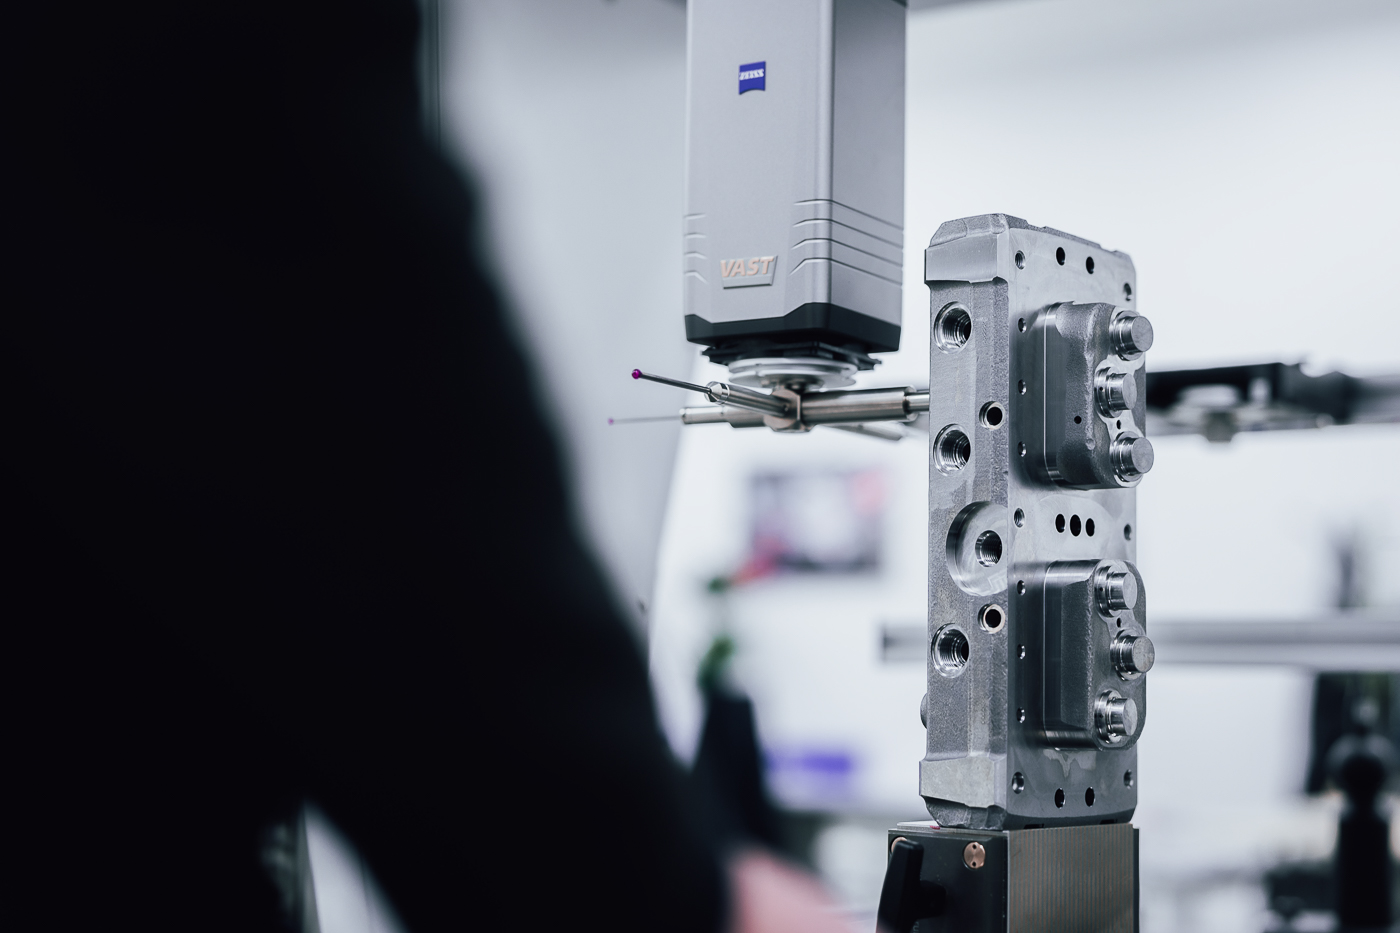
The highlight of our quality assurance is ZEISS XENOS – Europe’s most advanced and accurate 3D coordinate measuring machine with integrated precision rotary table. Its measuring accuracy is 0.3 µm + L/1,000 and it has a measurement range of 900 x 1,500 x 700 mm.
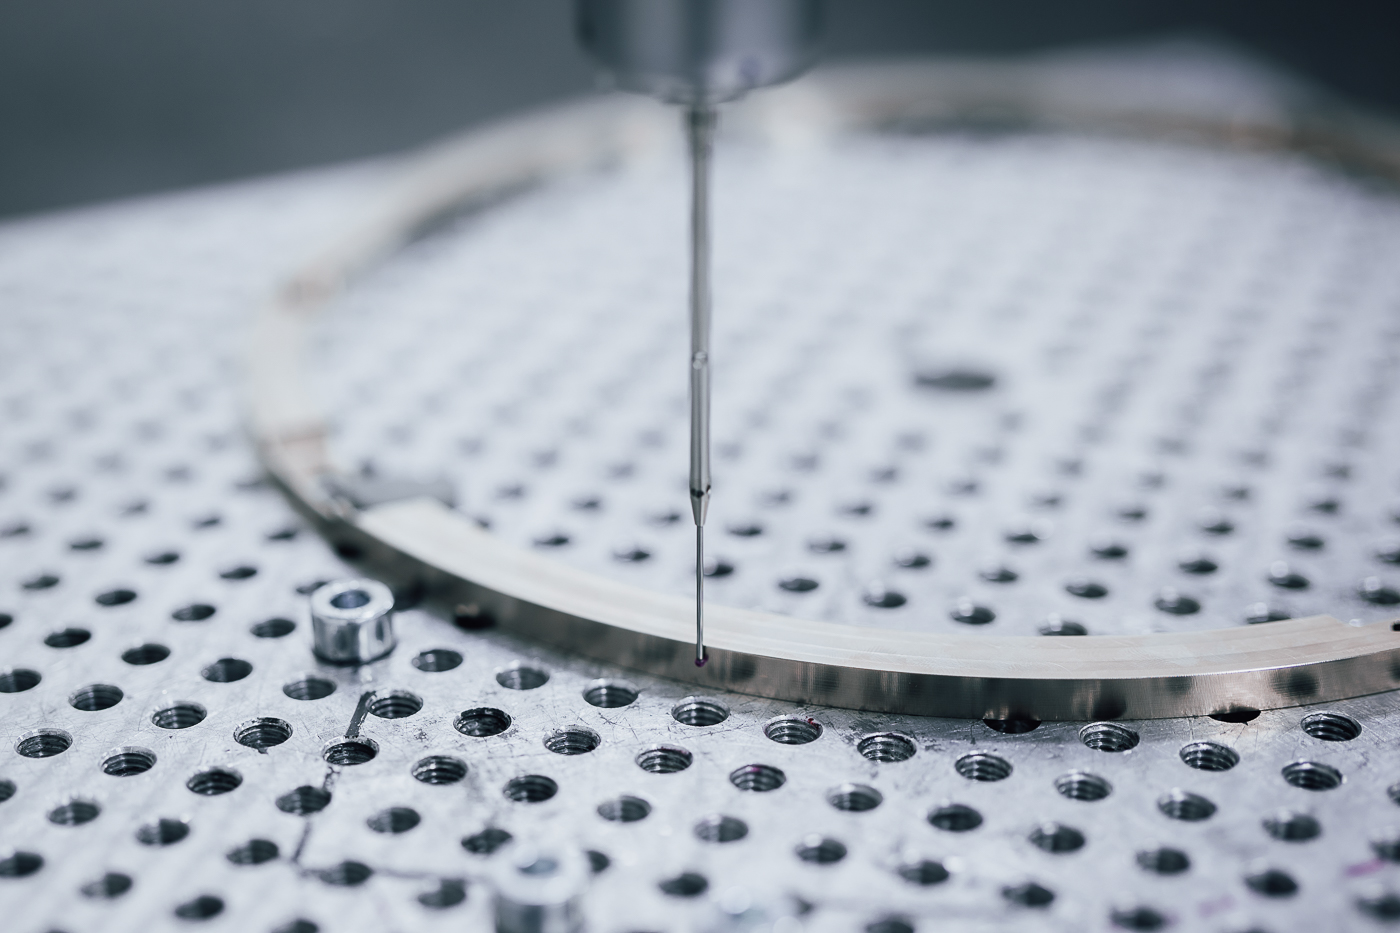
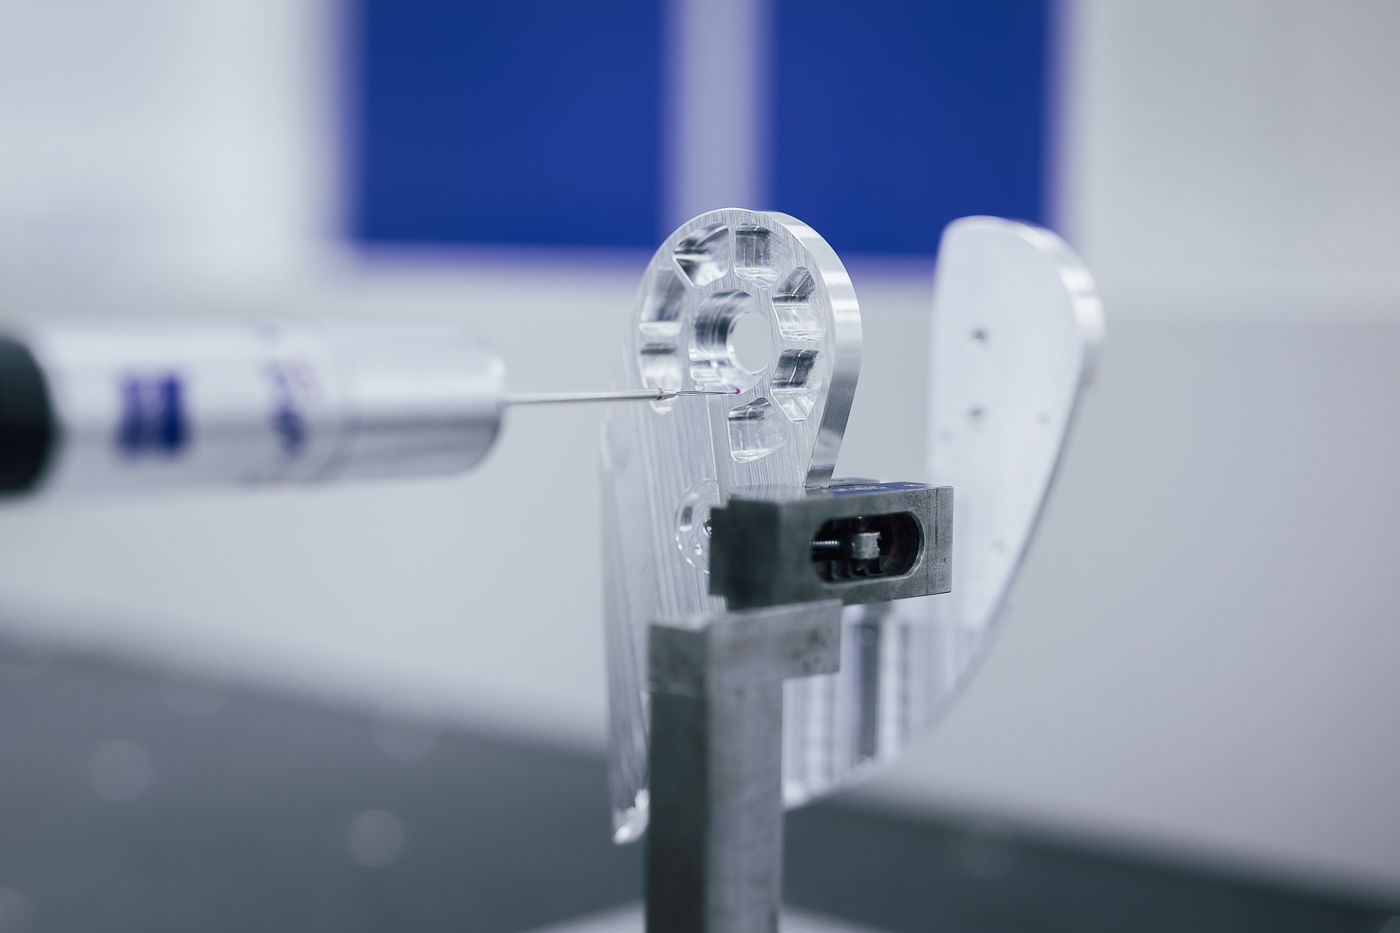
Tactile quality assurance is performed by means of 3D coordinate measurement, optical video measurement and the use of a measurement microscope, supplemented by surface roughness measurement and a visual testing procedure.
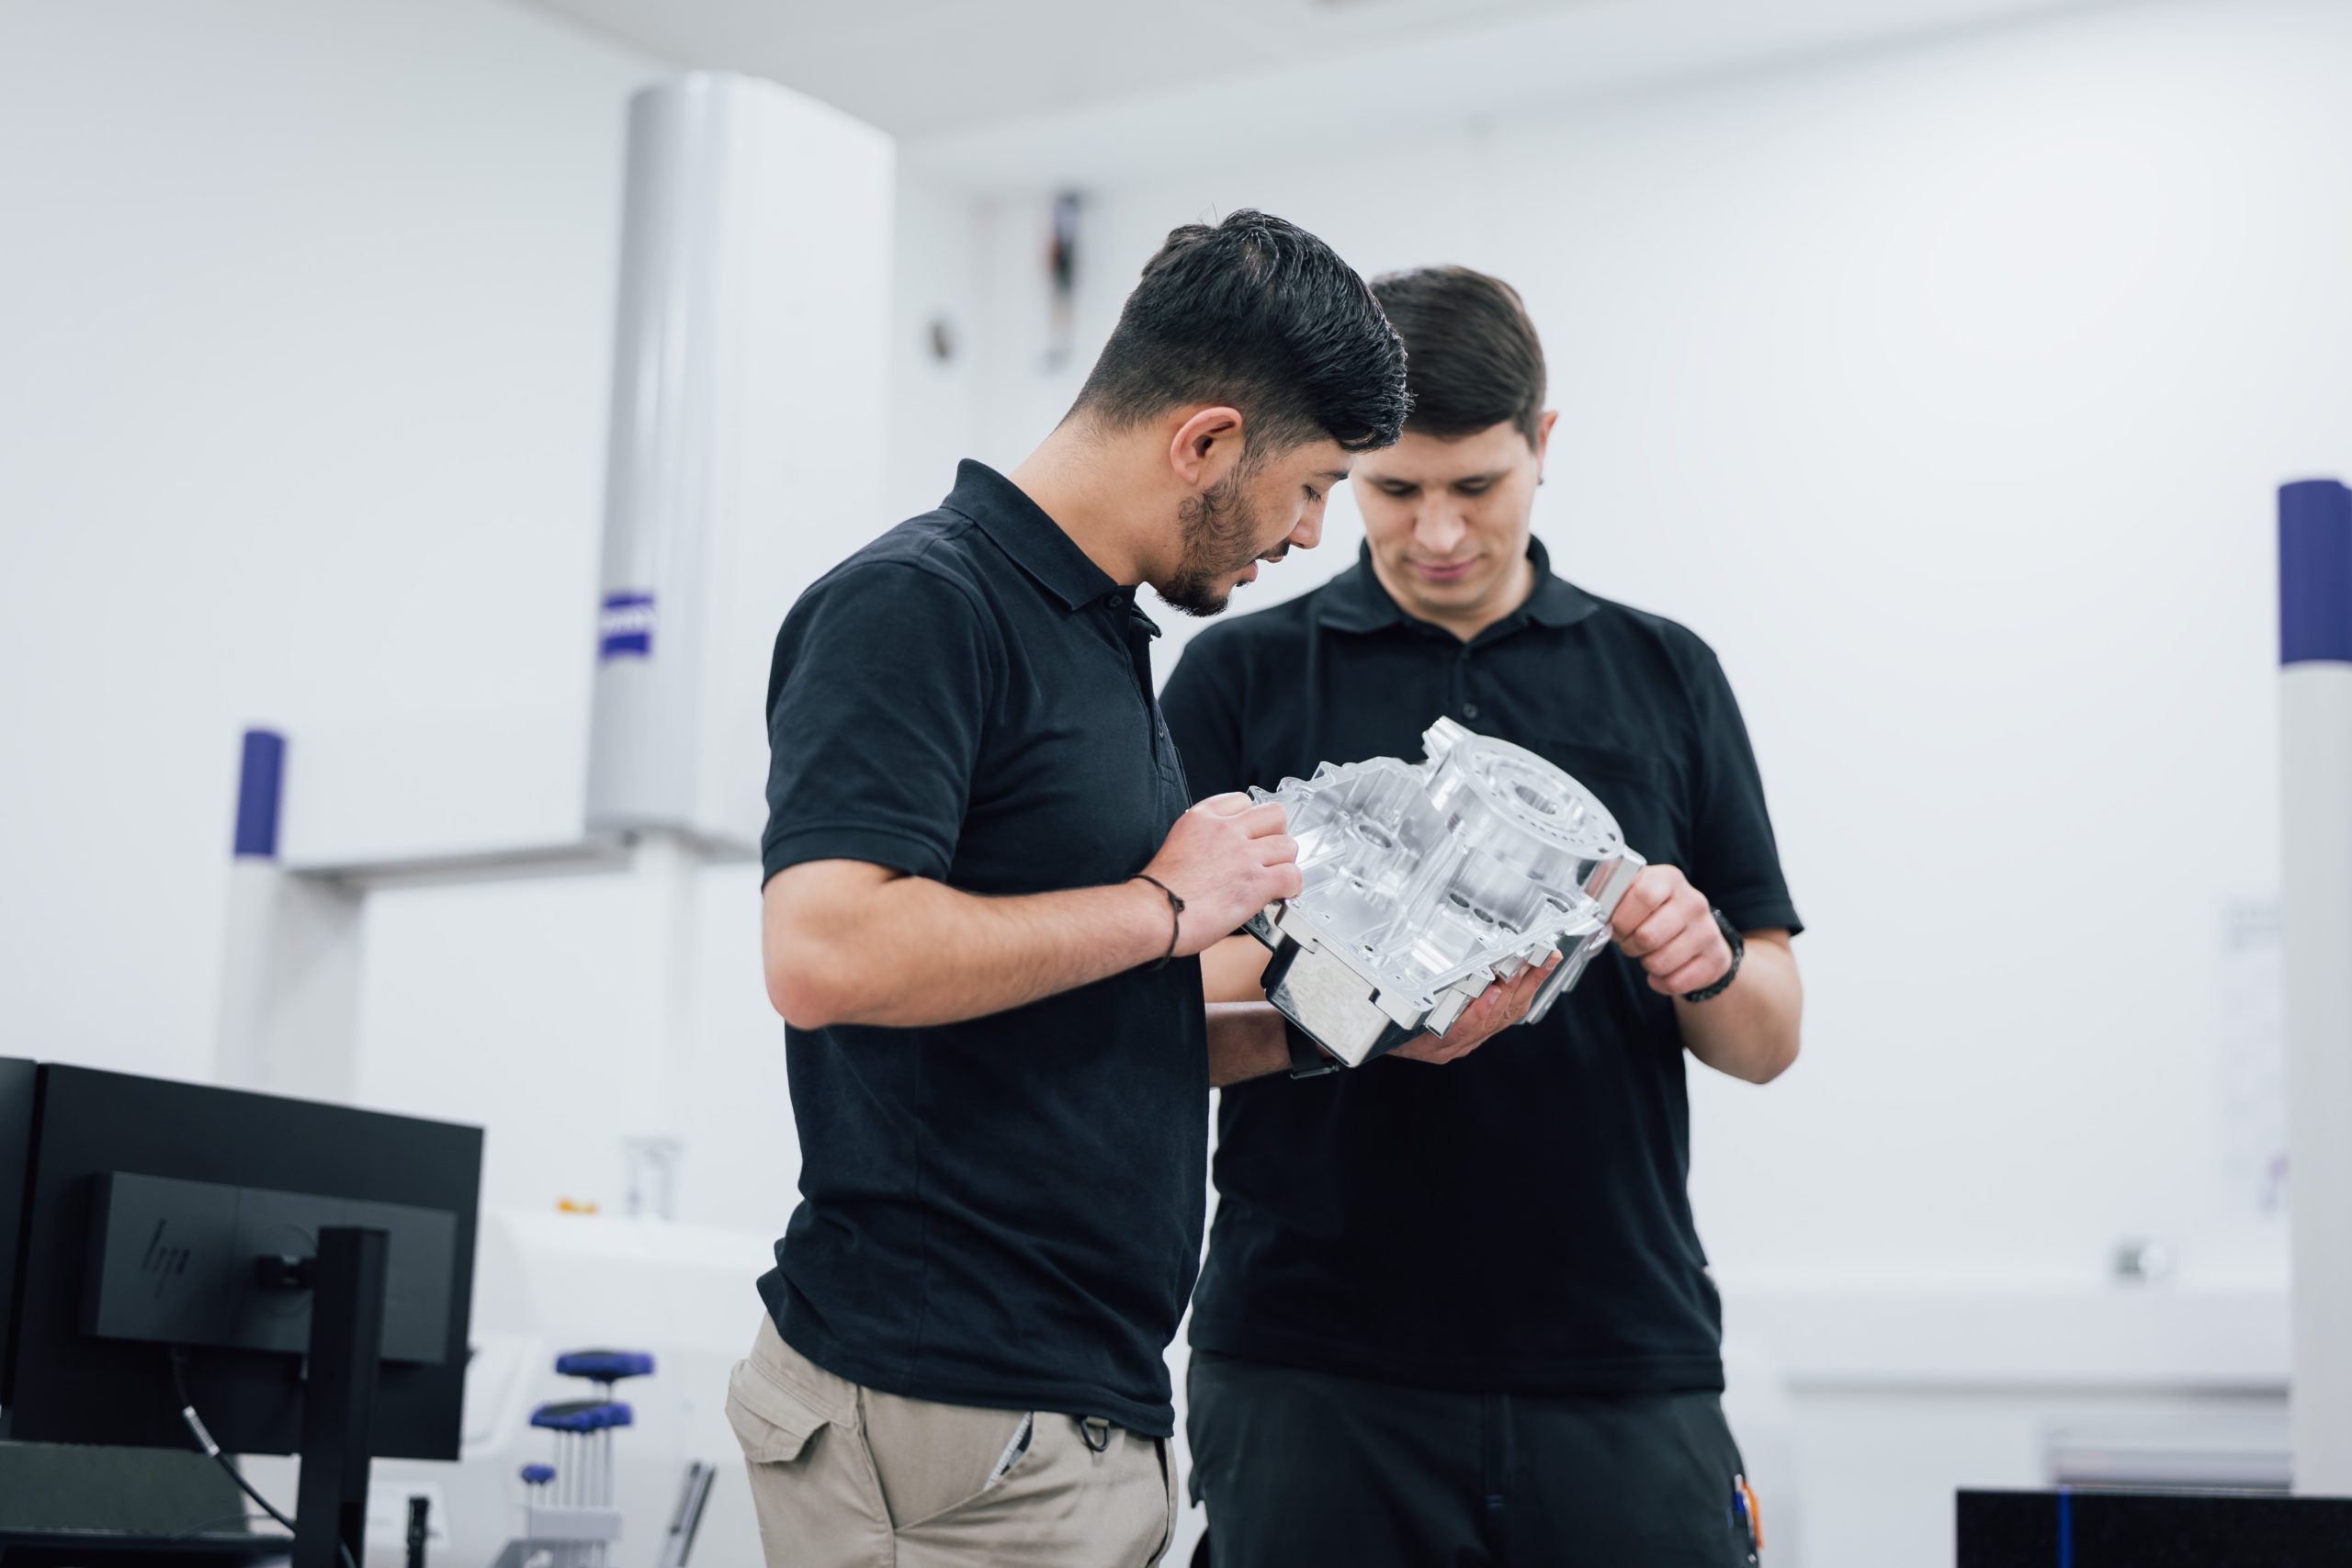
Our specialists trained in quality assurance document the highest degree of precision using the most modern measurement technology – to the very µm.
Only perfect interaction between man and machine enables the production of precision parts at the highest level of quality and which can largely meet the requirements of the aerospace industry and the optical industry.
Zeiss Xenos:
Europe’s most modern 3D coordinate measuring machine
Measurement that pushes the envelope of what is achievable
We have been using a ZEISS XENOS in our quality assurance ever since 2016. This investment carved out a pioneering position for SK TECHNOLOGY throughout Europe.
The measurement range is 900 x 1,500 x 700 mm and covers almost one cubic meter. The linear drives of the axes allow for high speeds and accelerations, as well as extremely high positioning accuracy significantly below 100 nanometres. In addition, XENOS is equipped with the most powerful ZEISS sensor, a VAST gold measuring head.
- Accuracy: 0,3 µm + L/1,000
- Measurement range: 900 x 1,500 x 700 mm
- Probe: VAST G-C1
- Additional equipment: Integrated precision rotary table
- Software: Calypso
Documentation and sampling
Prototypes and individual parts
We are responsible for the quality of the prototypes and individual parts manufactured by SK TECHNOLOGY. For the commissioned precision part, we prepare a test report on request in accordance with the technical requirements.
In the case of 100% documentation, the progress, the comparison of actual and target values and the analysis of the identified actual/target deviations are documented, including the required evidence from suppliers (e.g., material quality certificate, surface & hardness certificates, etc.).
Series
Initial sample testing
For the acceptance of your commissioned series precision component, we prepare a detailed initial sample test report of the actual/target condition for you in our certified measuring laboratory, so that you can give the green light for series production.
Visual testing (VT)
We offer visual testing if you would like to have our components visually inspected for damage, cracks or scratches, etc. Depending on the requirement profile, we call in an external accredited measuring laboratory for a second inspection.
There are various visual testing procedures that we can choose from – with the naked eye or using technical aids. In case of the latter, visual testing is performed directly using a magnifying glass, technoscope, microscope or endoscope. Camera, videoscope, etc., are used for indirect testing.
Process capability study
We offer a process capability study to assess the quality of production processes. Here, we draw samples at fixed intervals over an extended period of time. We record the relevant quality characteristics of the precision part using measurement technology. In this way, influences of the machine, the material, the method, the operator and the environment can be taken into account. We use the process capability indices Cp and Cpk to represent the result Zur Darstellung des Ergebnisses verwenden wir die Prozessfähigkeitskoeffizienten Cp und Cpk.
Process FMEA
For the systemic analysis of risks that can arise from errors in processes such as the production and cleaning of components, we apply the process-FMEA method, all the while complying with your quality requirements. This is how we detect flaws, shorten development time and stabilise your series production process.
Process control plan (PLP)
By means of a control plan or process control plan, we optimise existing processes and plan new processes effectively. The preceding FMEA provides the necessary information for this. The PLP describes dimensional checks, material tests and performance tests.
Process flow diagramm (PAP)
We visualise complex processes with the help of a flow chart. Essential process steps are clearly displayed graphically.
Cleanliness analysis
Technical cleanliness is defined by the amount of dirt on the surface of a component. To describe the state of cleanliness, we determine the residual dirt weight, as well as the number, size and composition of the particles.
If you specify contamination limits for a precision part, we subject it to a residual dirt analysis, which is carried out by an external accredited measuring laboratory.
Infrastructure
- • 1 ZEISS XENOS 3D coordinate measuring machine with integrated precision rotary table
- 11 coordinate measuring machines – thereof 4 with integrated precision rotary table
- 25 measuring machines/measuring devices (Optic, contourographer, shaft measuring etc.)
CERTIFICATES
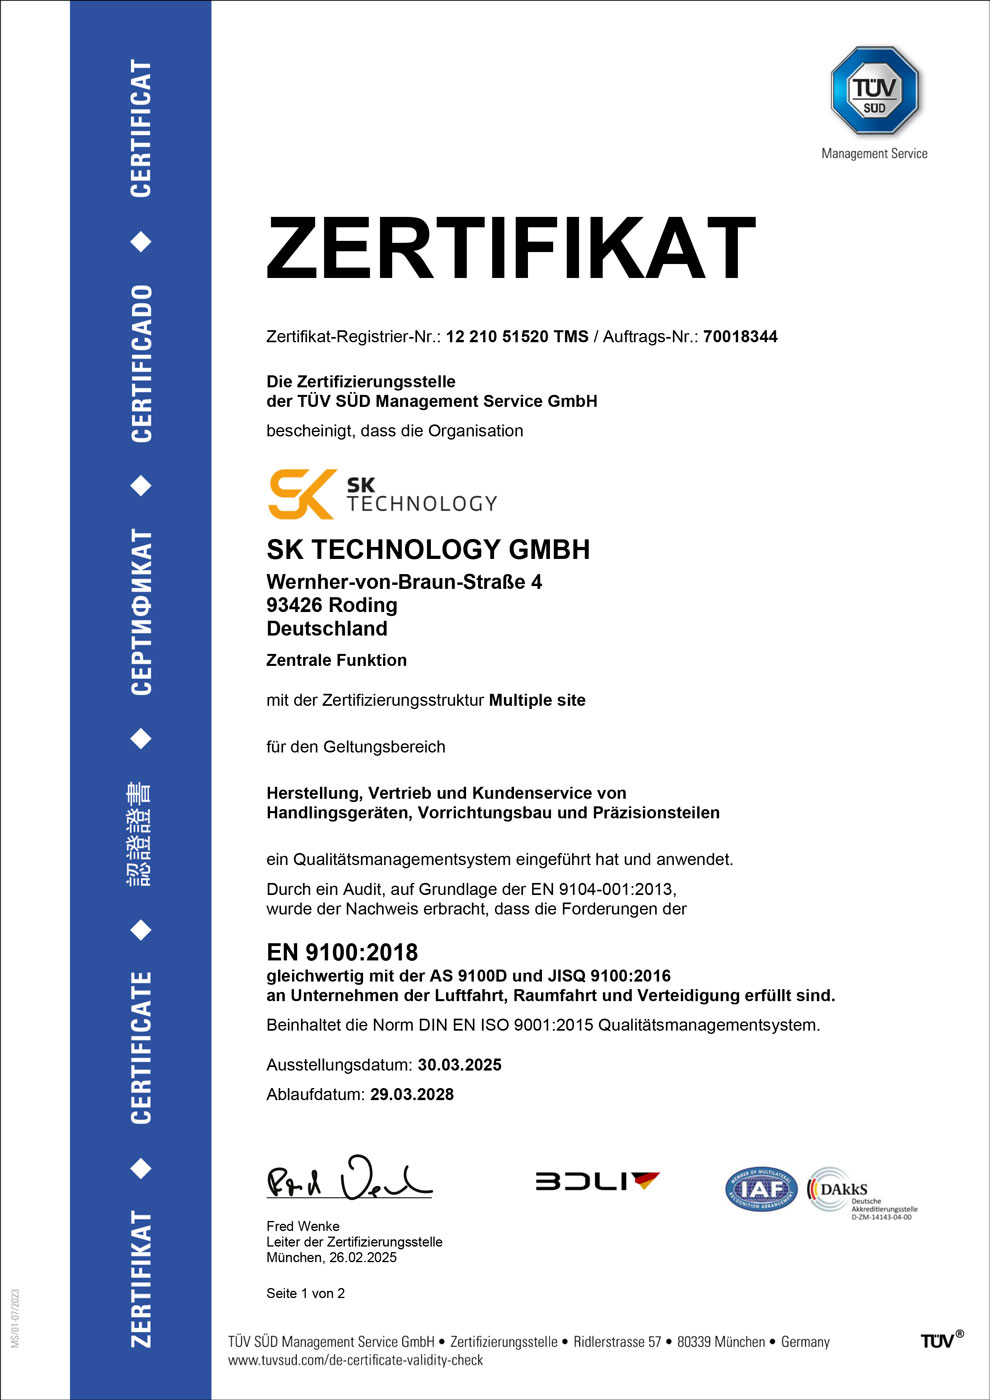
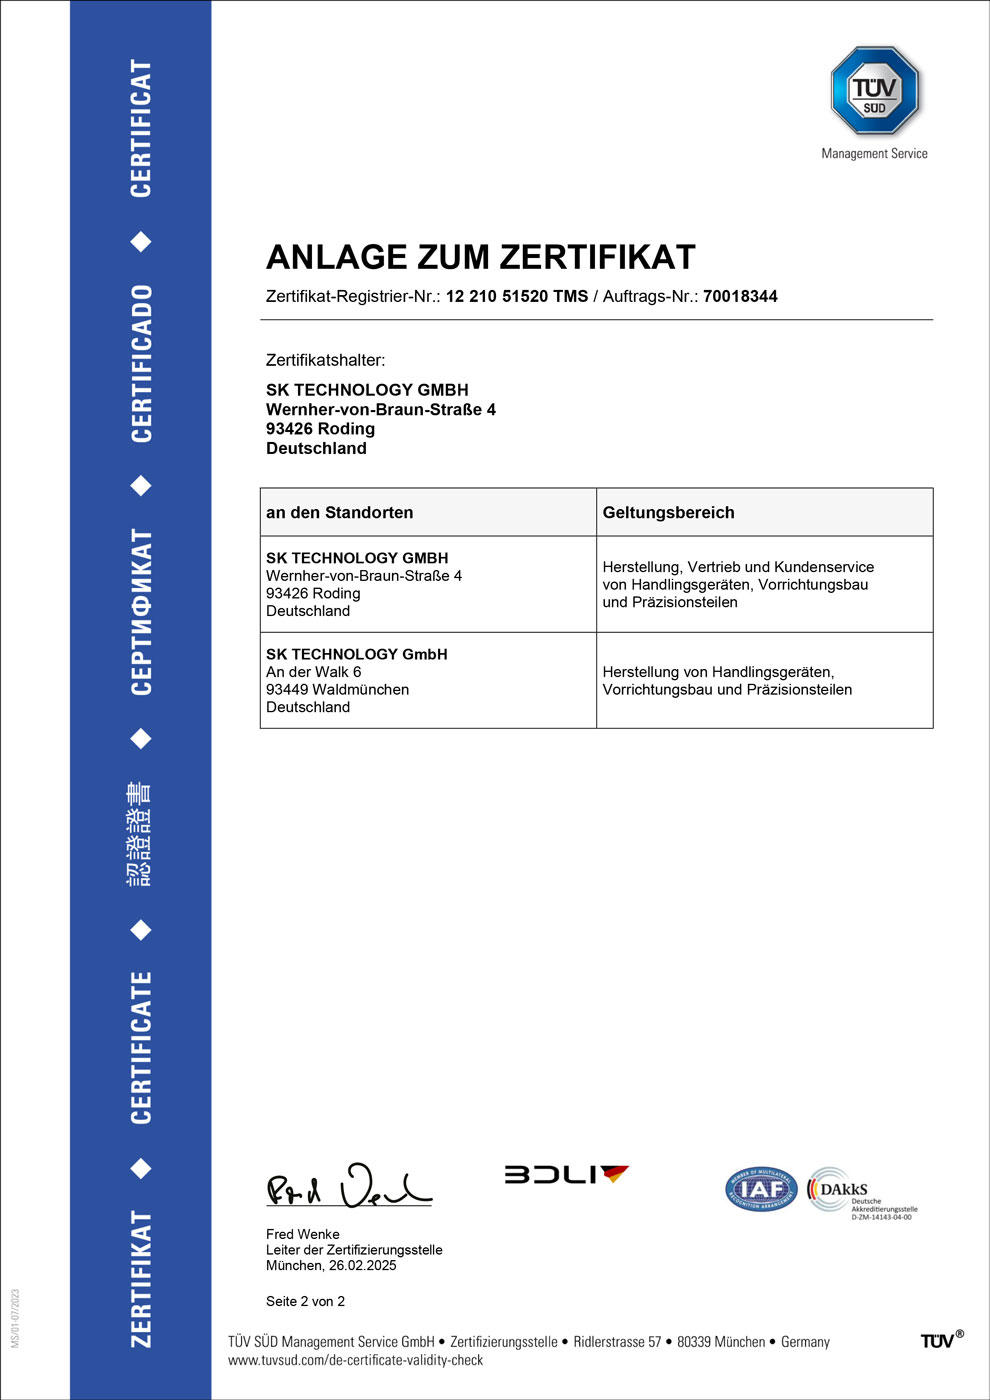
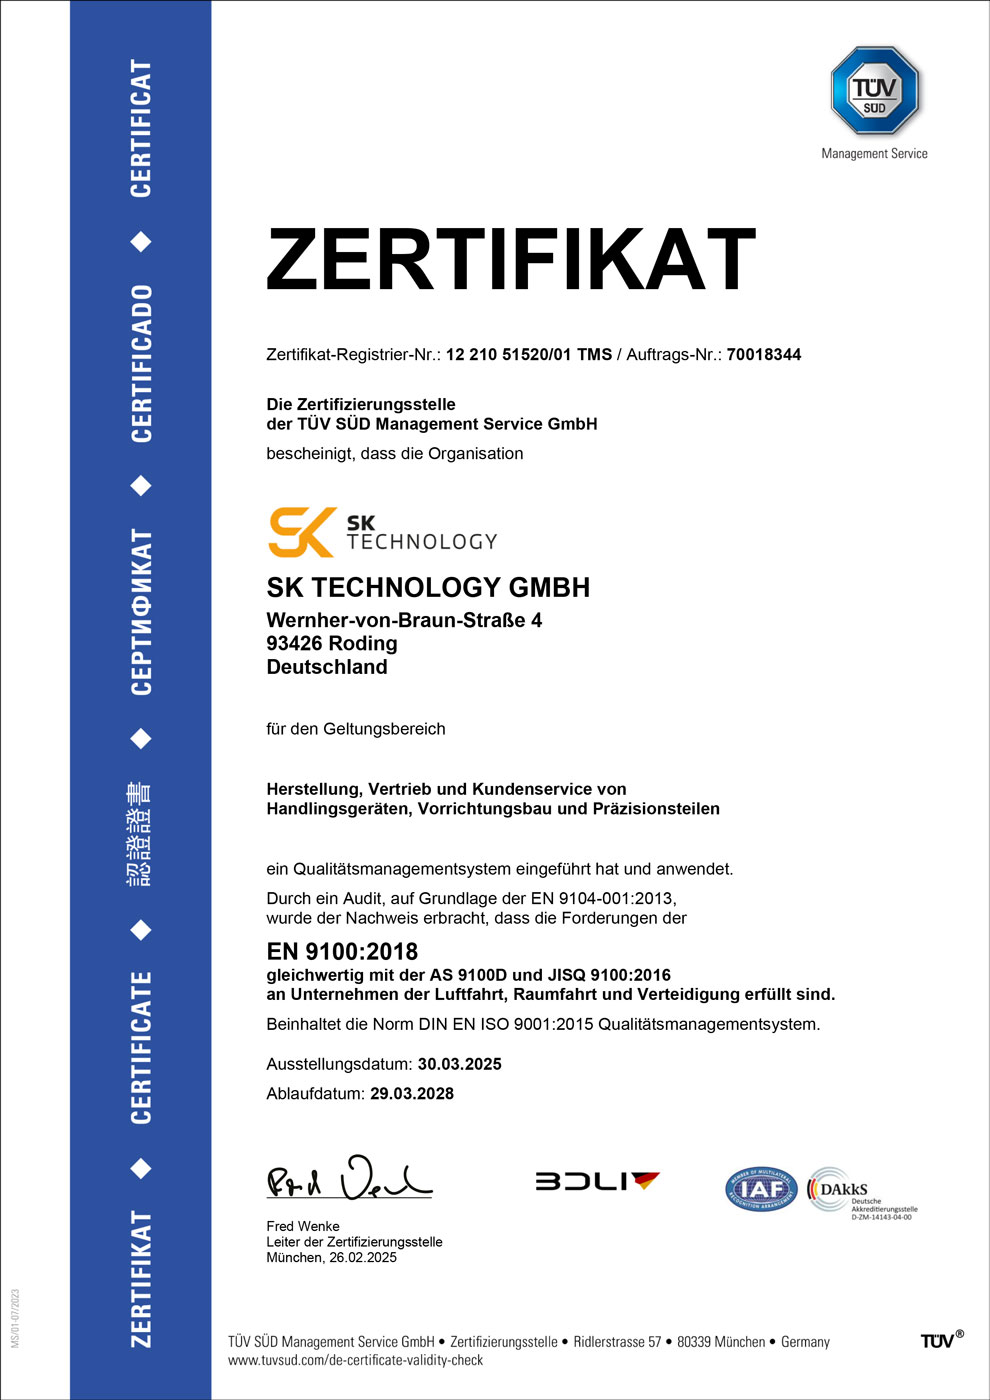
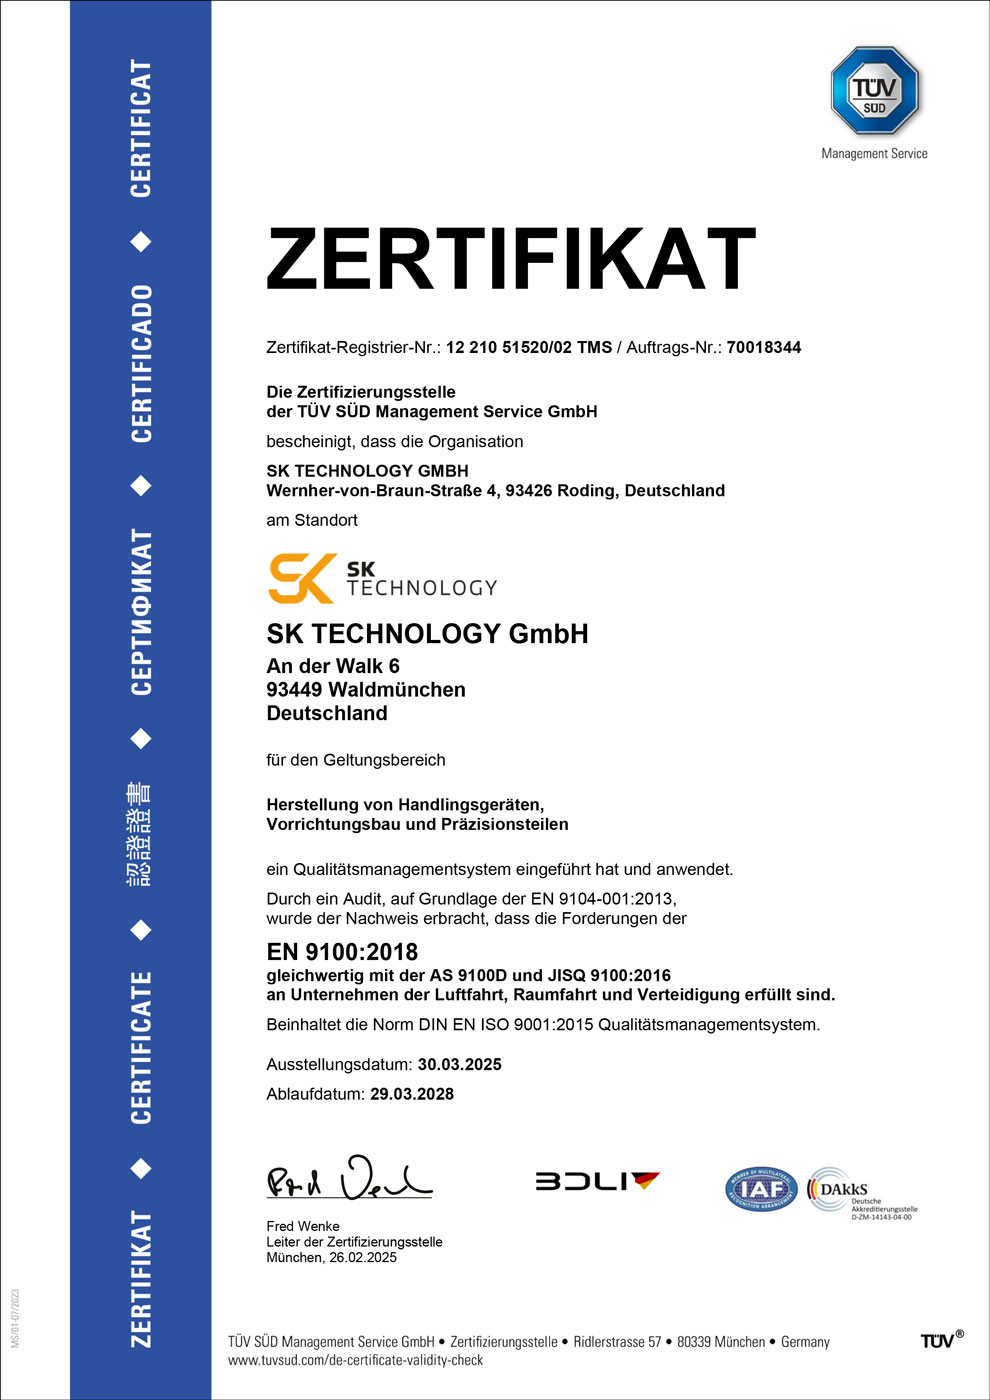
SK TECHNOLOGY is certified in accordance with DIN EN ISO 9100:2018 (aerospace certification, defence).
Any more questions?
We will be happy to answer your questions, down to the smallest detail.
TEAM PROJECT MANAGEMENT
Phone +49 (0) 9461 91106 – 0
E-mail info@sktechnology.de
